Alright, let's talk about sealcoating your asphalt driveway. I hear from a lot of folks asking if they should tackle this themselves or just call someone like us. Honestly, it depends on a few things: your driveway's condition, how comfortable you are getting your hands dirty, and what kind of results you're really hoping for.
What Exactly Is Sealcoating?
Simply put, sealcoating means putting a protective layer over your asphalt. Think of it like sunscreen for your driveway, you know? It helps stop water from seeping in, slows down how fast the sun's rays break it down, and even resists oil and gas spills. Now, it's not some magic fix for a driveway that's already falling apart, but it will definitely make healthy asphalt last longer.
Before You Even Think About It: Prep Work Is Everything
This is where most DIY jobs go wrong. You can't just slop sealcoat onto a dirty, cracked surface and expect it to hold up. Proper preparation is probably 80% of the entire job, whether you're doing it yourself or hiring Diamond Asphalt to do it.
- Clean, Clean, Clean: You absolutely have to get all the dirt, dust, loose gravel, and other junk off that driveway. A good power wash is usually the best way to start. Just make sure it's totally dry before you do anything else.
- Oil Stains? Get Rid of Them: Grease and oil spots need a good scrubbing and treatment with a degreaser. If you skip this, the sealcoat won't stick to those areas, and you'll end up with ugly splotches. Nobody wants that.
- Cracks and Potholes: This is a big one, seriously. Sealcoat isn't a filler. Any cracks wider than, say, a quarter-inch, or any potholes, need to be fixed before you sealcoat. You can grab crack filler at the hardware store, but for anything major, you're probably better off calling a pro. A poorly filled crack will just open right back up, and your sealcoat will fail right over it.
- Edging: Trim any grass or weeds growing along the edges of your driveway. You want a nice, clean line for the sealcoat.
Seriously, don't cut corners on the prep. If you rush this part, you're just throwing away your time and money.
DIY Sealcoating: When It Makes Sense
If your driveway is fairly new, small, and well-kept with only a few minor cracks, and you don't mind a bit of hard work, then sure, you can probably tackle sealcoating yourself. Here's what you'll need:
- Good quality sealcoat: Don't just grab the cheapest stuff on the shelf. Read some reviews. Look for something made for our Billings climate, with its wild temperature swings.
- Applicator: That means a squeegee or a special sealcoat brush on a long handle.
- Edging brush/tape: To protect your concrete sidewalks, garage doors, or landscaping.
- Safety gear: Gloves, old clothes you don't care about, eye protection. This stuff is messy, trust me.
Apply it in thin, even coats. Two thin coats are always better than one thick one, always. And make sure the temperature is right — usually above 50°F and no rain in the forecast for at least 24-48 hours. Our spring and fall weather in Billings can be pretty unpredictable, so keep a close eye on that forecast.
When to Call a Pro (Like Us)
This is where most homeowners find themselves, especially if their driveway is:
- Older or showing a lot of wear: If it's got a bunch of spiderweb cracks, potholes, or big areas that are falling apart, sealcoat alone won't do the trick. You might need patching, crack filling, or even some milling before you can even think about sealcoating.
- Large or oddly shaped: Trying to get a smooth, even finish on a big, winding driveway by hand is a nightmare. Professionals have specialized spray equipment that makes sure it looks consistent and professional.
- You want it to last: The professional-grade sealants we use are often different from what you can buy at the big box stores. They're made for durability and applied with precision. Plus, we've got the experience to spot hidden issues you might miss.
- You don't have the time or patience: It's a dirty, time-consuming job. If your weekend is precious, why not let someone else handle it?
For instance, if you live in a neighborhood like the Heights, where driveways can be long and bake in the sun, a professional application with a quality product will give you a much better return on investment in the long run. We've seen plenty of DIY jobs that end up looking streaky or peeling within a year because the prep wasn't right or the product just wasn't good enough.
After the Sealcoat Is Down
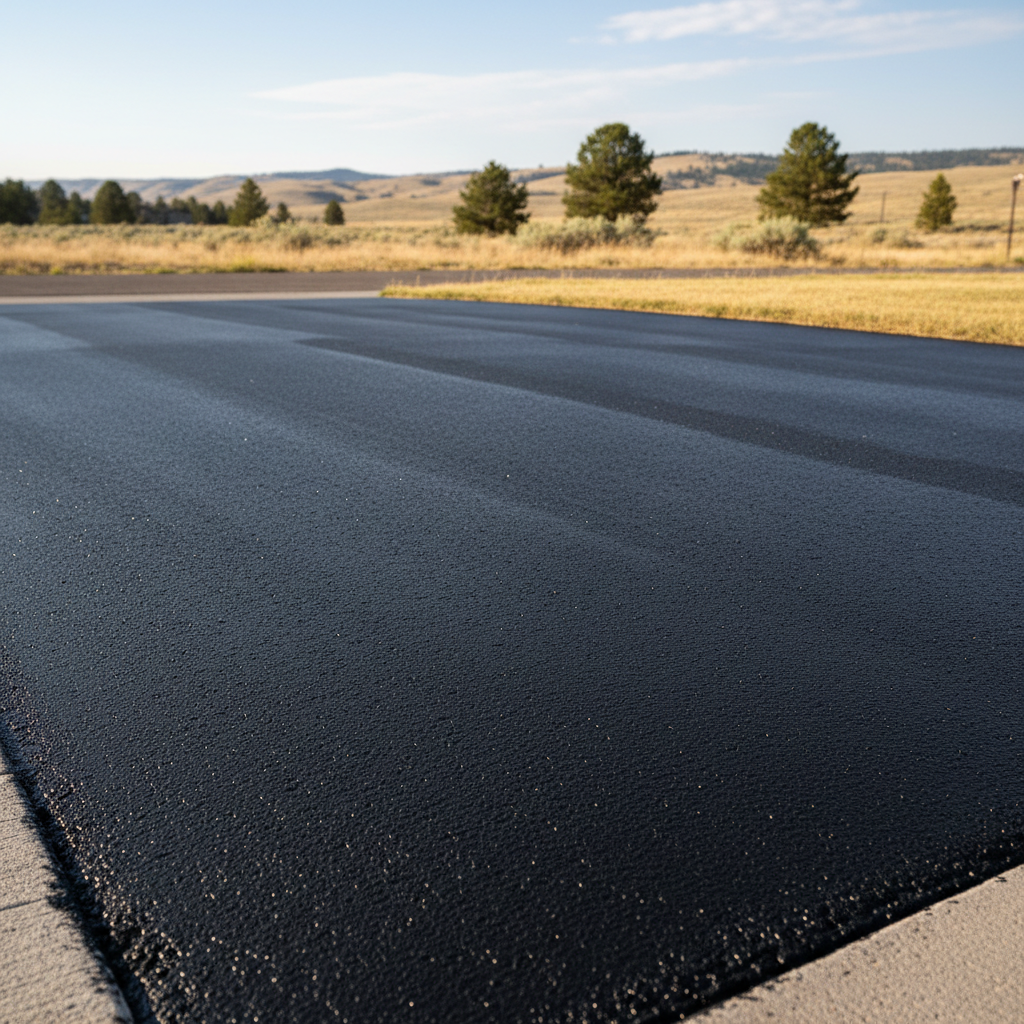
Whether you do it yourself or hire someone, you've got to let it cure. Stay off the driveway for at least 24-48 hours, maybe even longer depending on the product and the weather. Don't park heavy vehicles on it for a few days. You'll notice it changes from a shiny black to a duller, matte finish as it cures. That's totally normal.
Sealcoating isn't a one-and-done kind of deal. To truly protect your investment, you'll want to reapply it every 2-3 years, depending on how much traffic it gets and how harsh our Billings winters have been. Keeping up with it will save you a lot of money on bigger repairs down the road, believe me.